
本机环境:
- hdfs伪分布式部署
- 用户名:hadoop
- hostname:hadoop001
一、环境准备
Python
- Python 2.7
- Python 3.6+
1
2
[root@hadoop001 local]# python -V
Python 2.7.18database
1
2
[hadoop@hadoop001 ~]$ mysql --version
mysql Ver 14.14 Distrib 5.7.11, for linux-glibc2.5 (x86_64) using EditLine wrapperOS Packages
1
yum install ant asciidoc cyrus-sasl-devel cyrus-sasl-gssapi cyrus-sasl-plain gcc gcc-c++ krb5-devel libffi-devel libxml2-devel libxslt-devel make mysql mysql-devel openldap-devel python-devel sqlite-devel gmp-devel openssl-devel -y
mvn
1
2
3
[hadoop@hadoop001 ~]$ mvn -v
Apache Maven 3.8.3 (ff8e977a158738155dc465c6a97ffaf31982d739)
Maven home: /home/hadoop/app/mavenNodeJs
NodeJs版本须为14.X版本
https://nodejs.org/download/release/v14.18.3/
https://www.cnblogs.com/dch0/p/14485924.html
1
2
3
4
[root@hadoop001 glibc]# node -v
v14.18.3
[root@hadoop001 glibc]# npm -v
8.3.1java
1
2
3
4
[hadoop@hadoop001 ~]$ java -version
java version "1.8.0_45"
Java(TM) SE Runtime Environment (build 1.8.0_45-b14)
Java HotSpot(TM) 64-Bit Server VM (build 25.45-b02, mixed mode)
二、安装
下载并解压
下载地址:https://github.com/cloudera/hue
1
[hadoop@hadoop001 software]$ tar -zvxf hue-release-4.10.0.tar.gz
编译
1
2
[hadoop@hadoop001 software]$ cd hue-release-4.10.0
[hadoop@hadoop001 hue-release-4.10.0]$ PREFIX=/home/hadoop/software make install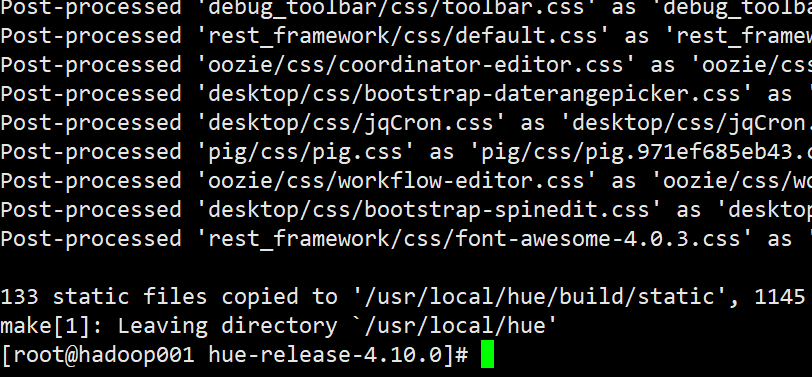
初始化配置
hue.ini:
1
2
3
4
5
6
7
8
9
10
11
12
13
14
15
16
17
18
19
20
21
22
23
24
25
26
27
28
29
30
31
32
[desktop]
# This is used for secure hashing in the session store.
secret_key=jFE93j;2[290-eiw.KEiwN2s3['d;/.q[eIW^y#e=+Iei*@Mn<qW5o
# Webserver listens on this address and port
http_host=hadoop001
http_port=8000
# Time zone name
time_zone=Asia/Shanghai
#以下4项不设置,默认adminuser为hue,会在hue目录下创建hue:hue权限的文件,无权限操作
# Webserver runs as this user
server_user=hadoop
server_group=hadoop
# This should be the Hue admin and proxy user
default_user=hadoop
# This should be the hadoop cluster admin
## default_hdfs_superuser=hadoop
[[database]]
# Note for MariaDB use the 'mysql' engine.
engine=mysql
host=hadoop001
port=3306
user=root
password=123456
#保存hue信息的数据库名
name=hue配置database这几个属性后,先在mysql中创建数据库hue
1
2
mysql> CREATE DATABASE `hue` DEFAULT CHARACTER SET utf8 DEFAULT COLLATE utf8_general_ci;
Query OK, 1 row affected (0.00 sec)然后执行命令生成元数据,
1
[hadoop@hadoop001 hue]$ ./build/env/bin/hue migrate
创建成功:

此时数据库hue下多了大量与hue信息相关的表。
启动hue,第一次访问
1
build/env/bin/supervisor
浏览器访问
http://hadoop001:8000/
第一次访问,提示创建超级管理员帐号。
我们这里创建:用户:hadoop(与hdfs用户同名);密码:123456;
成功访问hue页面:
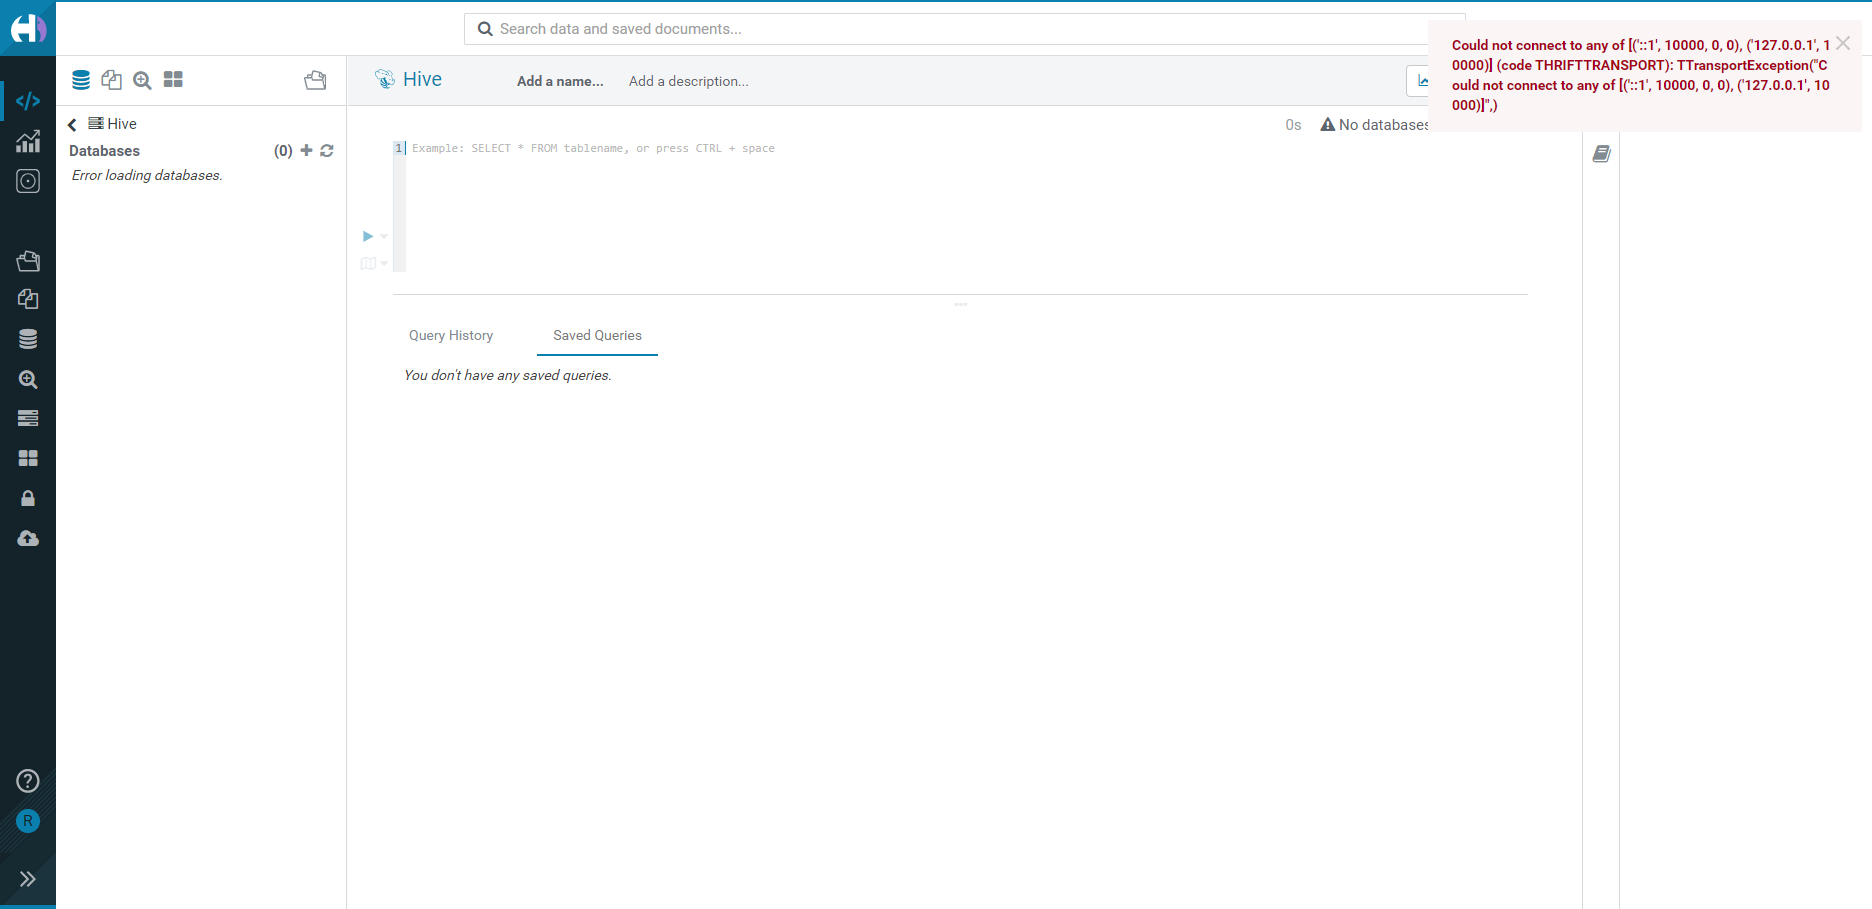
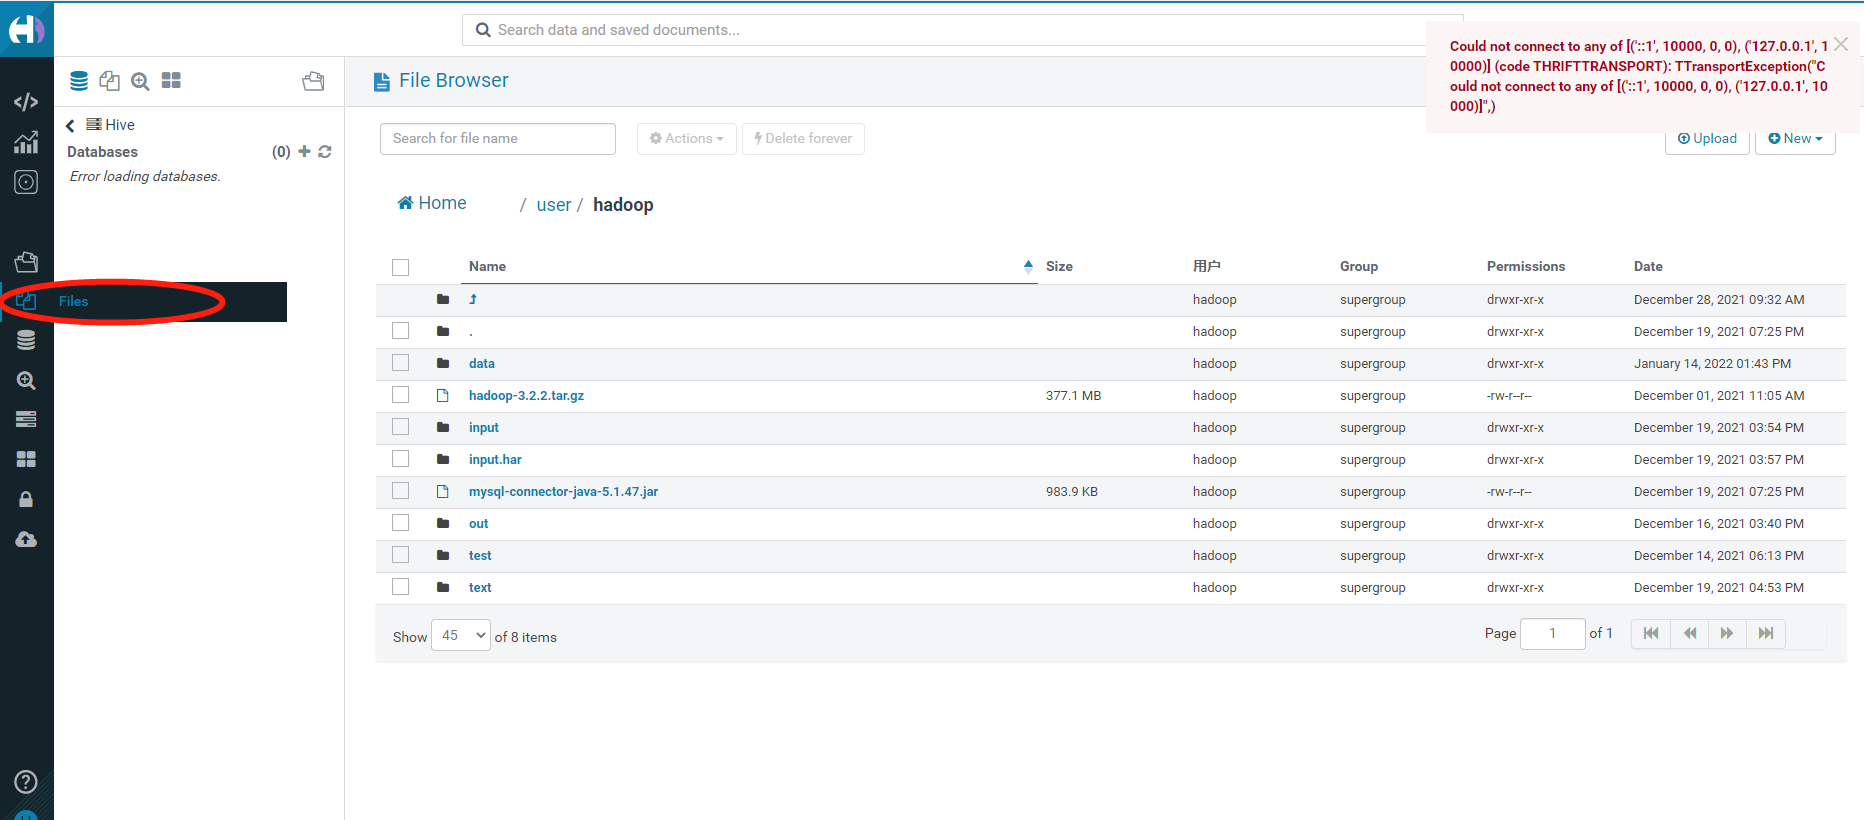
三、集成hdfs
hue运行用户为hadoop
hue.ini
1
2
3
4
5
6
7
8
9
10
11
12
13
14
15
16
17
18
19
20
21
22
23
24
25
26
27
28
29
30
31
32
33
34
35
36
37
38
39
40
41
42
43
# 211 行。 没有安装 Solr,禁用,否则一直报错
app_blacklist=search
##集成HDFS、YARN
[[hdfs_clusters]]
# HA support by using HttpFs
[[[default]]]
# 211 行。 没有安装 Solr,禁用,否则一直报错
app_blacklist=search
# Enter the filesystem uri
fs_defaultfs=hdfs://hadoop001:9000
# Use WebHdfs/HttpFs as the communication mechanism.
# Domain should be the NameNode or HttpFs host.
# Default port is 14000 for HttpFs.
webhdfs_url=http://hadoop001:9870/webhdfs/v1
# Directory of the Hadoop configuration
## hadoop_conf_dir=$HADOOP_CONF_DIR when set or '/etc/hadoop/conf'
hadoop_conf_dir=$HADOOP_HOME/etc/hadoop
[[yarn_clusters]]
[[[default]]]
# Enter the host on which you are running the ResourceManager
resourcemanager_host=hadoop001
# The port where the ResourceManager IPC listens on
resourcemanager_port=8032
# Whether to submit jobs to this cluster
submit_to=True
# URL of the ResourceManager API
resourcemanager_api_url=http://hadoop001:8088
# URL of the ProxyServer API
## proxy_api_url=http://hadoop001:8088
# URL of the HistoryServer API
history_server_api_url=http://hadoop001:19888hdfs-site.xml
1
2
3
4
5
6
7
8
9
<!-- HUE -->
<property>
<name>dfs.webhdfs.enabled</name>
<value>true</value>
</property>
<property>
<name>dfs.permissions.enabled</name>
<value>false</value>
</property>core-site.xml
1
2
3
4
5
6
7
8
9
<!-- HUE -->
<property>
<name>hadoop.proxyuser.hadoop.hosts</name>
<value>*</value>
</property>
<property>
<name>hadoop.proxyuser.hadoop.groups</name>
<value>*</value>
</property>
重启hdfs集群,启动hdfs,historyserver
1 | [hadoop@hadoop001 ~]$ start-all.sh |
CART + C中止前端运行HUE,重启HUE。
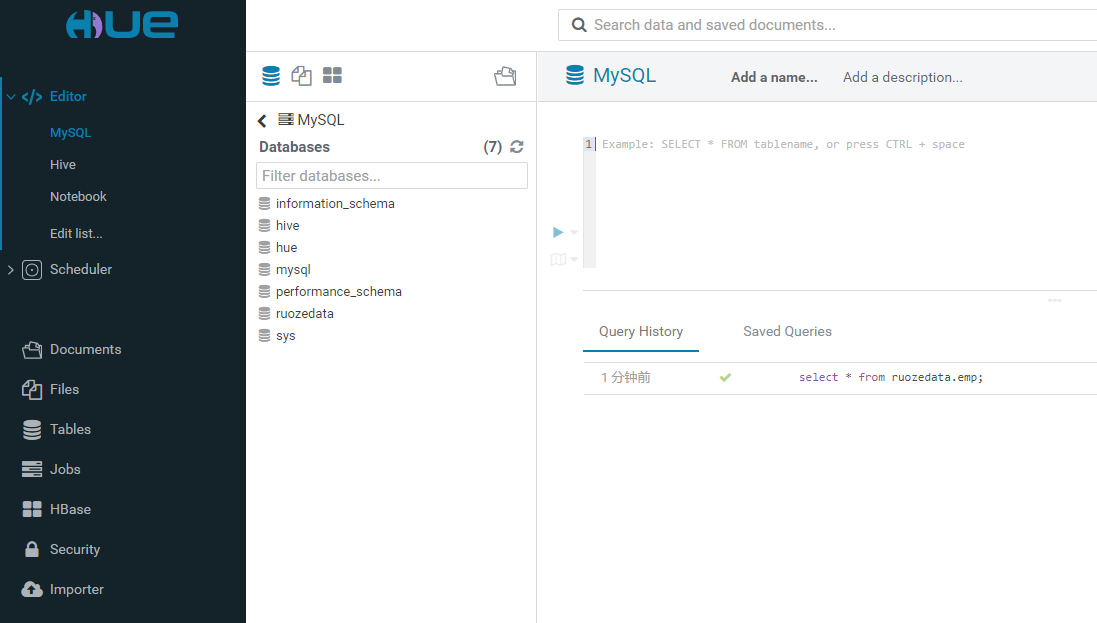
在HUE上浏览hdfs,并对hdfs上的文件进行操作:
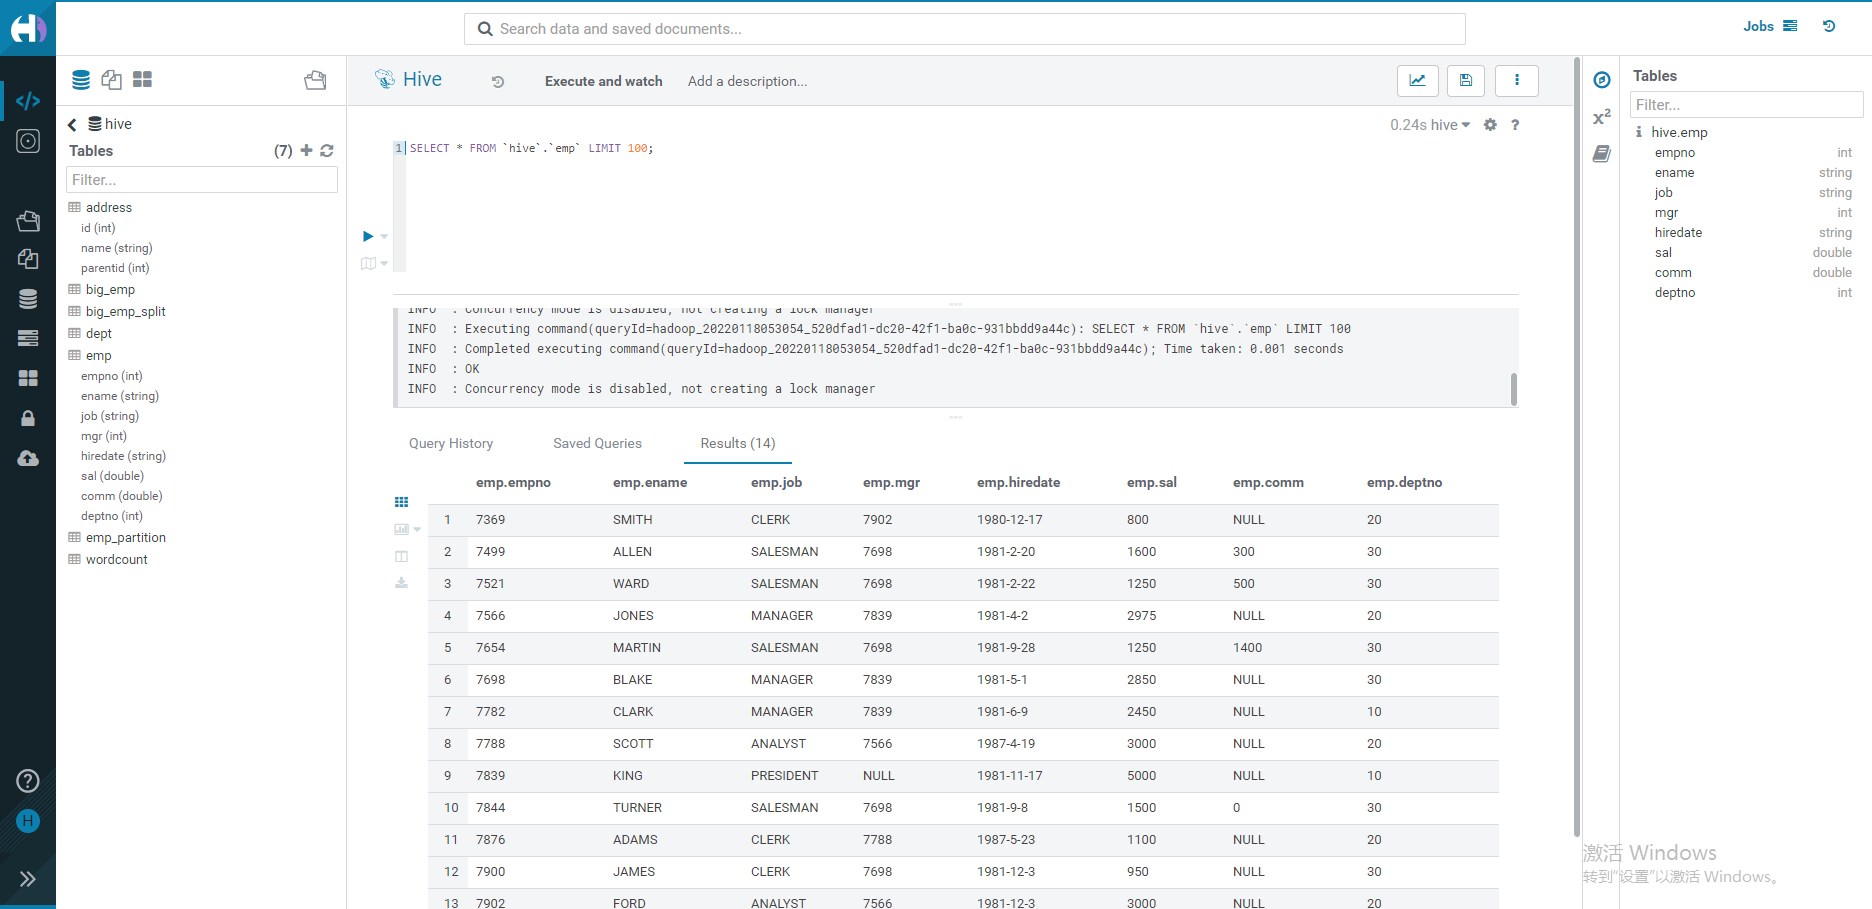
四、集成Hive
如果需要配置hue与hive的集成,启动hue前需要启动hiveserver2和metastore服务。
hue.ini
1 | [beeswax] |
启动hiveserver2和metastore服务。
1 | [hadoop@hadoop001 hue]$ nohup hive --service metastore & |
启动hue
1 | [hadoop@hadoop001 hue]$ build/env/bin/supervisor |
五、集成MySQL
hue.ini:
1 | [[[mysql]]] |
六、安装过程遇到问题
编译过程中,npm超时
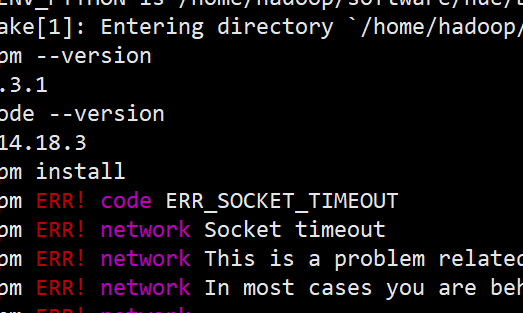
切换镜像源:
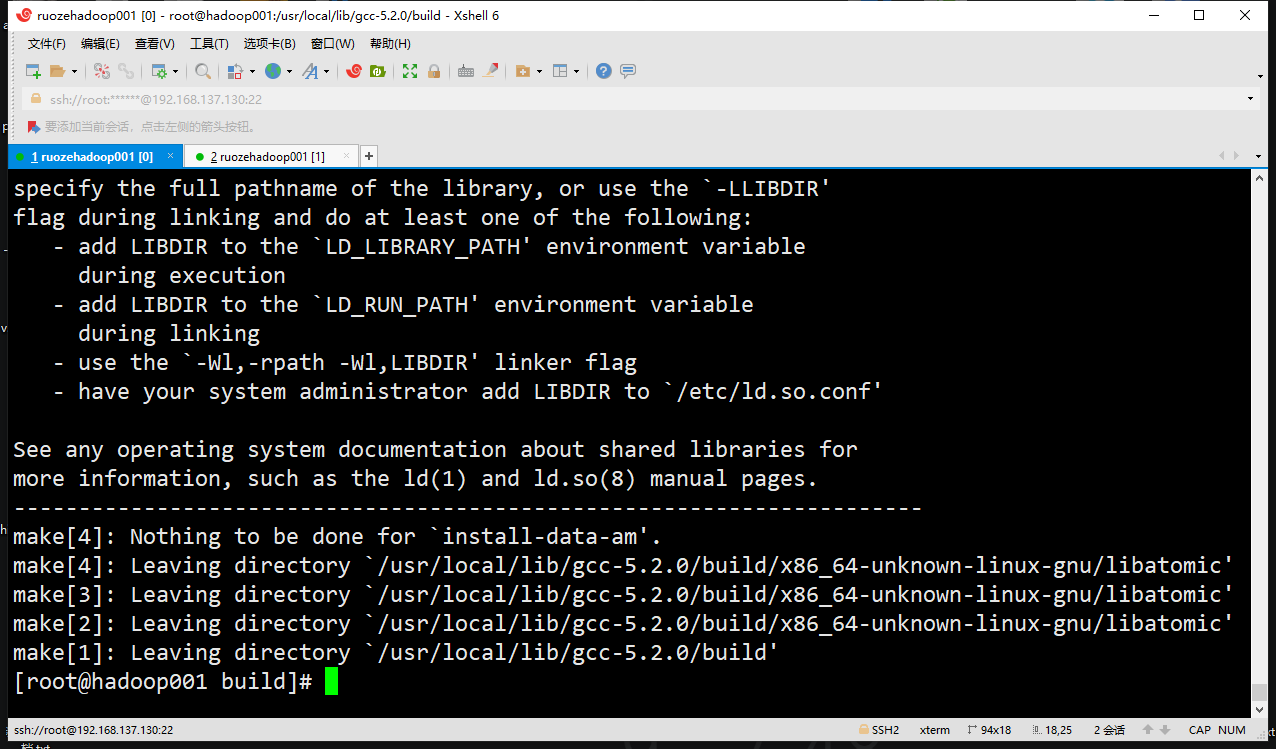
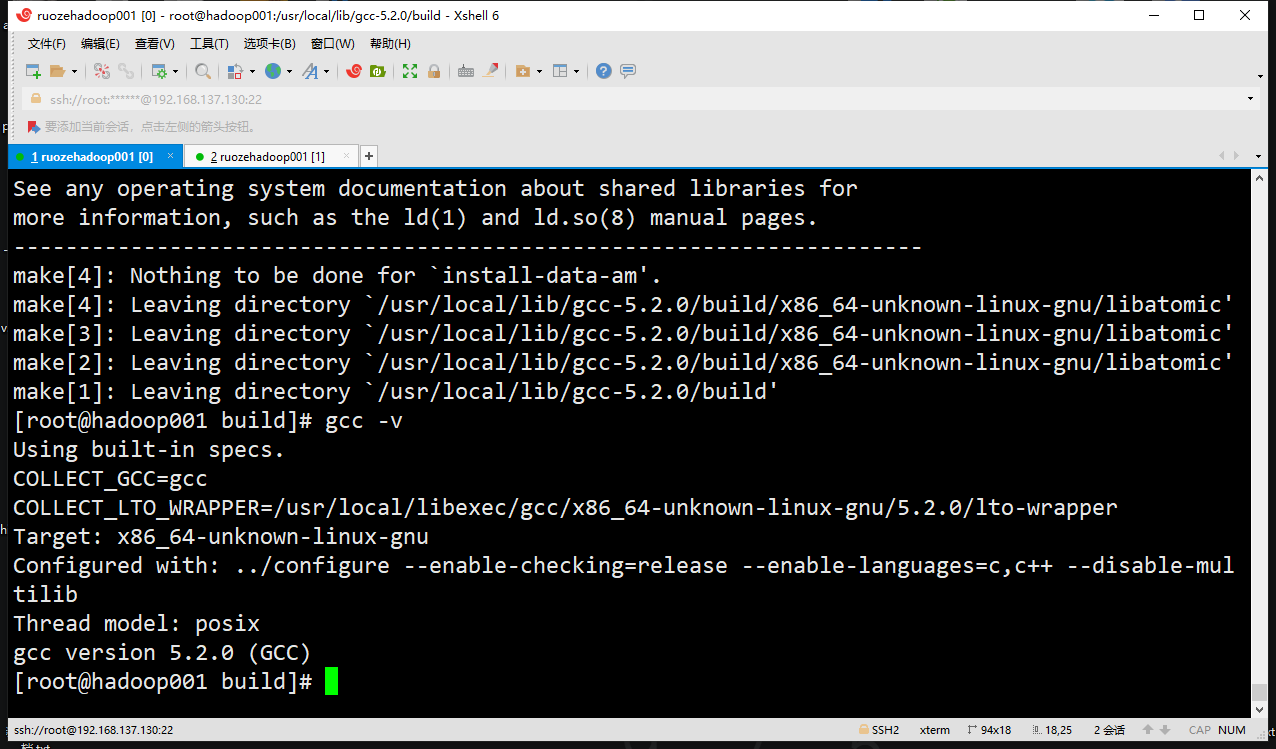
npm config set registry http://registry.npm.taobao.org后解决。gcc版本过低报错

升级了GCC版本
mysqlclient or MySQL-python
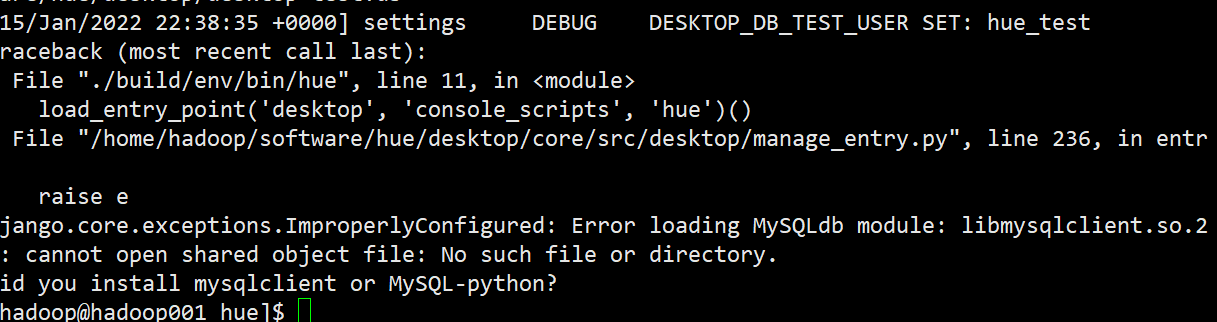
解决:
https://pypi.org/project/mysqlclient/
1
sudo yum install python3-devel mysql-devel
install mysqlclient via pip now:
1
pip install mysqlclient
1
2
3
4
5
6
7
8
9
10
11
12
13
14
15
16
17
18
19
20
21
22[root@hadoop001 rh]# python get-pip.py
DEPRECATION: Python 2.7 reached the end of its life on January 1st, 2020. Please upgrade your Python as Python 2.7 is no longer maintained. pip 21.0 will drop support for Python 2.7 in January 2021. More details about Python 2 support in pip can be found at https://pip.pypa.io/en/latest/development/release-process/#python-2-support pip 21.0 will remove support for this functionality.
Collecting pip<21.0
Using cached pip-20.3.4-py2.py3-none-any.whl (1.5 MB)
Installing collected packages: pip
Attempting uninstall: pip
Found existing installation: pip 20.3.4
Uninstalling pip-20.3.4:
Successfully uninstalled pip-20.3.4
Successfully installed pip-20.3.4
[root@hadoop001 rh]# pip install mysqlclient
DEPRECATION: Python 2.7 reached the end of its life on January 1st, 2020. Please upgrade your Python as Python 2.7 is no longer maintained. pip 21.0 will drop support for Python 2.7 in January 2021. More details about Python 2 support in pip can be found at https://pip.pypa.io/en/latest/development/release-process/#python-2-support pip 21.0 will remove support for this functionality.
Collecting mysqlclient
Downloading mysqlclient-1.4.6.tar.gz (85 kB)
|████████████████████████████████| 85 kB 879 kB/s
Building wheels for collected packages: mysqlclient
Building wheel for mysqlclient (setup.py) ... done
Created wheel for mysqlclient: filename=mysqlclient-1.4.6-cp27-cp27m-linux_x86_64.whl size=93309 sha256=e8a53d4de8684dfdda60179f73cfb2f8083b3e3051412cdd6d5263782befd504
Stored in directory: /root/.cache/pip/wheels/04/5f/2b/e542c27913779611971f196081df58f969c742c01d93af1197
Successfully built mysqlclient
Installing collected packages: mysqlclient
Successfully installed mysqlclient-1.4.6